Dealing with a roof leak can be a challenging situation for any homeowner. If not addressed quickly, unexpected damage and water leaks will take their toll on your property. While waiting for professional roof repair, a temporary yet effective solution is to cover the affected area with a tarp. This guide outlines the steps to properly tarp a roof leak, helping you protect your home from further damage.
Understanding the Impact of Roof Leaks
Roof leaks can cause significant damage if not promptly addressed, leading to problems affecting your home’s structure and livability. Water intrusion is one of the most serious issues a homeowner can face.
Mold Growth
Mold is often the first sign of water intrusion from a roof leak. It thrives in damp environments, and a leaky roof provides perfect conditions for flourishing. Mold can spread quickly through your home, affecting walls, ceilings, and even the HVAC system. It damages the structure and poses health risks, including respiratory issues, allergies, and other health problems.
Structural Damage
Water leaking through the roof can cause extensive structural damage. Over time, water can weaken the wooden framework of your home, leading to warped or rotting beams and joists. It undermines the stability of your home, making it unsafe. Additionally, water can seep into the foundation, causing cracks and destabilizing the entire structure.
Ruined Insulation
Insulation materials, such as fiberglass or cellulose, can become saturated with water, rendering them ineffective. Wet insulation loses its ability to retain heat, leading to higher energy bills as your heating and cooling systems work harder to maintain a comfortable temperature. Damp insulation can also become a breeding ground for mold and mildew, compounding the damage and health risks.
Damage to Personal Property
Beyond structural concerns, roof leaks can damage your personal belongings. Water can seep into living spaces, damaging furniture, electronics, clothing, and other valuables. In severe cases, it can ruin irreplaceable items such as family photos and important documents.
Electrical Hazards
Water intrusion can create electrical hazards. If water comes into contact with electrical wiring, it can cause short circuits, electrical fires, or electrocution. It poses a significant safety risk and can result in costly repairs to the electrical system.
Compromised Home Integrity
The longer a leak is left untreated, the more extensive and severe the damage can become, potentially compromising the overall integrity of your home. Taking immediate action to mitigate the damage is crucial while you wait for a professional roof repair. Temporary measures, such as tarping the leak, can help prevent further damage and give you time to arrange a permanent solution.
Preparing to Tarp a Roof
Tarping your roof requires careful preparation to ensure the process is effective and safe.
Assessing the Damage
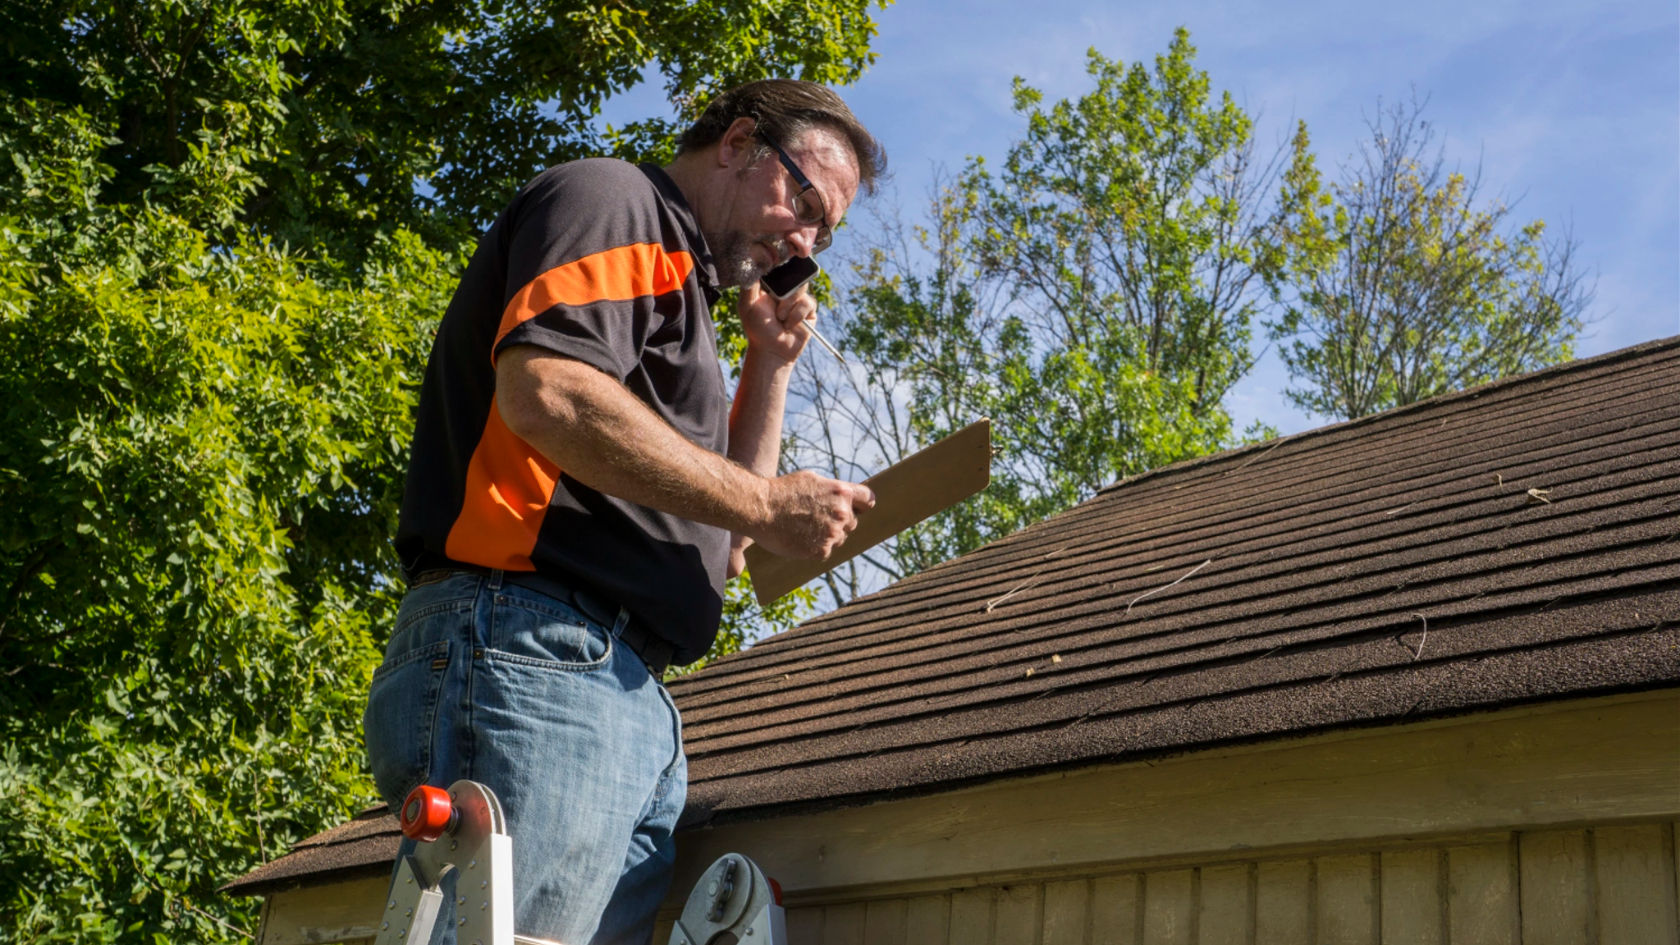
Before you begin, carefully assess the extent of the roof damage. Look for signs of leaks, such as water stains on the ceiling or damp spots in the attic. Check the exterior for missing or damaged shingles. If the damage is significant, it’s best to call a professional roofer immediately. In cases where the damage is more manageable, you can proceed with tarping the roof yourself.
Gathering Necessary Materials and Tools
To properly tarp your roof, you’ll need the following materials and tools: a tarp, screw gun, screws, wooden planks, caulk or roof cement, safety gear, and a sturdy ladder. Having an assistant to help you will also increase safety and efficiency. Ensure you have appropriate safety gear, including a harness, non-slip shoes, and a helmet, to protect yourself while working at heights.
Step-by-Step Guide to Tarping a Roof
Once you’ve assessed the damage and gathered your materials, you can tarp your roof.
Measuring the Area and Choosing the Right Tarp
Start by measuring the damaged area accurately. Choose a large tarp to cover the area completely, with extra room on each side for secure fastening. High-quality tarps designed for roofing are recommended as they are more durable and effective in protecting your home.
Positioning the Tarp
Position the tarp flat over the damaged area, ensuring it extends over the roof’s ridge if possible. It helps prevent water from collecting under the tarp. Lay the tarp smoothly to avoid wrinkles and folds that could allow water to seep through. If extending over the ridge isn’t possible, use caulk or roof cement along the top edge of the tarp to create a watertight seal.
Securing the Tarp
Using a screw gun, attach the tarp to the roof deck with screws and wooden planks. Secure the tarp’s edges firmly to prevent it from blowing away in bad weather. It’s crucial to fasten the tarp tightly and securely to provide the best protection against the elements.
Safety Considerations
Working on a roof can be dangerous, especially if the roof is wet or steep. Follow these safety guidelines to minimize the risk of injury.
Safety Precautions When Working on a Roof
Use appropriate safety gear, including a harness, non-slip shoes, and a helmet. Ensure your ladder is sturdy and placed on a stable surface. Having an assistant to hold the ladder and provide support can significantly increase your safety. If you feel uncomfortable or unsure, it’s best to stop and call a professional.
When to Call a Professional
If the damage is extensive or you have doubts about the tarping process, it’s wise to contact a professional roofing contractor. Professionals have the expertise, equipment, and safety protocols to handle roof repairs effectively. Hiring a professional ensures the job is done safely and correctly, preventing further damage to your property.
Post-Tarping Considerations
After securing the tarp, monitor the temporary fix and plan for permanent repairs.
Monitoring the Temporary Fix
Regularly check the tarp to ensure it remains secure and hasn’t shifted. Monitor the interior of your home for any new leaks or signs of water damage. Address any issues promptly to maintain the effectiveness of the tarp.
Preparing for Permanent Repairs
While the tarp provides temporary protection, planning for permanent roof repairs as soon as possible is essential. Schedule a professional inspection to assess the full extent of the damage and determine the necessary repairs. Be prepared for additional repairs, such as replacing damaged shingles, once the tarp is removed.
Conclusion
Tarping a leaking roof is a crucial temporary measure to protect your home from further damage until professional repairs can be made. You can effectively mitigate damage by understanding the impact of roof leaks, preparing properly, and following safety guidelines. Remember, tarping is a temporary solution, and permanent repairs are essential for maintaining the integrity of your roof and home.


